
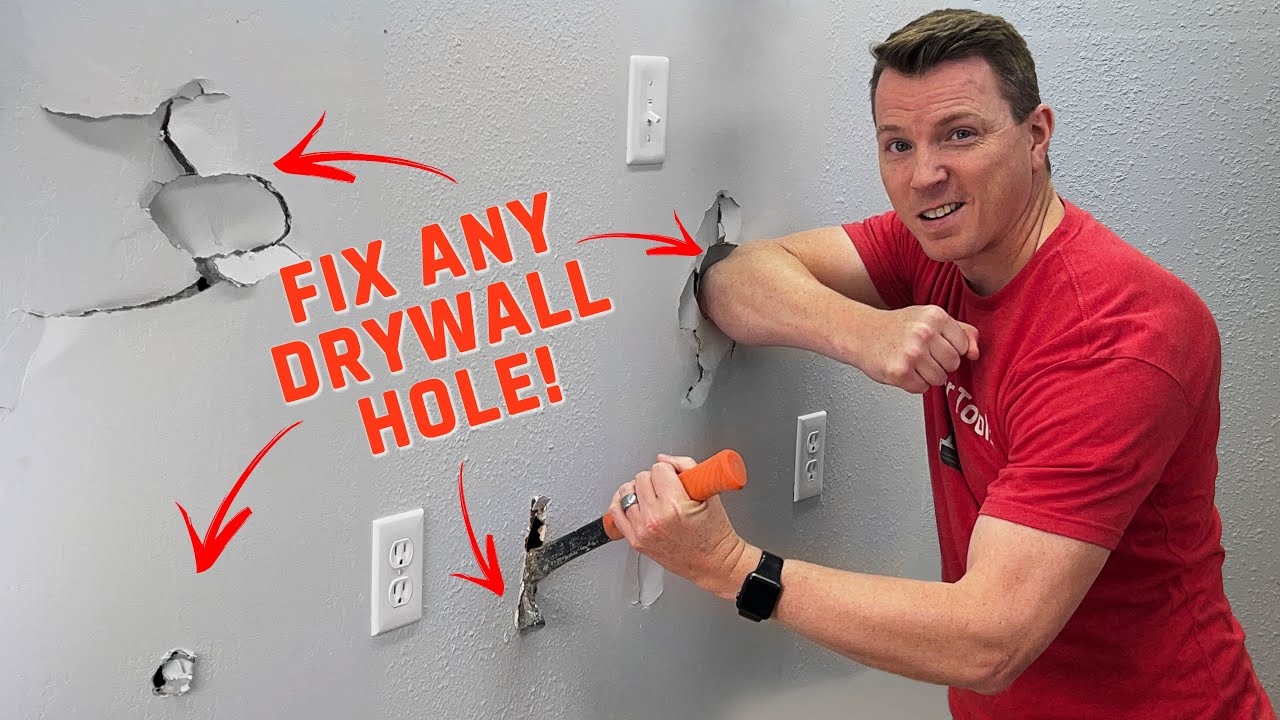
Small holes in drywall are a common part of everyday life. They can appear after removing picture frames, relocating shelves, moving furniture, or from accidental bumps around the home. While they may seem minor, leaving them unrepaired can make a room look neglected and may make painting more difficult later.
The good news is that repairing small drywall holes is one of the easiest home maintenance projects for beginners. Most repairs require only a few inexpensive tools, a little patience, and careful preparation.
This guide introduces the PATCH SMART Method, a simple process that helps first-time DIYers repair small drywall damage safely and achieve clean, professional-looking results.
Understanding Different Types of Drywall Holes
Before starting, identify the size of the damage because the repair method depends on it.
Tiny Nail or Pin Holes
These are usually left behind after hanging pictures or decorations.
Screw Holes
Slightly larger than nail holes but still simple to repair.
Small Dents
Furniture, doorknobs, or everyday bumps can create shallow dents without breaking through the drywall.
Small Holes (Up to About 2 Inches)
These may require a self-adhesive repair patch in addition to joint compound.
Knowing the size of the damage helps you choose the right repair method.
The PATCH SMART Method
Use the PATCH SMART Method for a smoother repair.
- P — Prepare the Area
- A — Assess the Damage
- T — Trim Loose Material
- C — Clean the Surface
- H — Handle the Repair Carefully
- S — Spread Compound Evenly
- M — Make It Smooth
- A — Allow Proper Drying Time
- R — Rub Lightly With Sandpaper
- T — Touch Up With Paint
Tools and Materials You’ll Need
Most small drywall repairs require only a few basic supplies.
Common items include:
- Lightweight spackling compound or joint compound
- Putty knife
- Fine-grit sandpaper (around 120–220 grit)
- Clean cloth or sponge
- Self-adhesive drywall patch (for slightly larger holes)
- Primer
- Matching wall paint
Having everything ready before you begin makes the job easier.
Step 1: Clean the Damaged Area
Before applying any repair material, remove dust and loose drywall.
Use a dry cloth or soft brush to clean the area.
If the paper around the hole is torn or peeling, carefully trim away loose pieces with a utility knife.
A clean surface helps the repair material bond better.
Step 2: Repair Small Nail or Screw Holes
For very small holes:
- Scoop a small amount of spackling compound with a putty knife.
- Press the compound firmly into the hole.
- Smooth the surface by holding the knife at a slight angle.
- Remove excess compound.
It is better to apply a thin layer than a thick one.
Step 3: Repair Slightly Larger Holes
For holes larger than a nail hole but still relatively small:
- Place a self-adhesive drywall patch over the hole.
- Apply joint compound across the patch.
- Feather the edges outward so the repair blends with the wall.
- Allow the compound to dry completely.
Some repairs may need two or three thin coats rather than one thick coat.
Step 4: Allow the Compound to Dry
Drying time depends on:
- Product type
- Thickness of the application
- Room temperature
- Humidity
Always follow the drying instructions on the product label.
Trying to sand before the repair is fully dry may damage the surface.
Step 5: Sand the Surface Smooth
Once completely dry:
- Use fine-grit sandpaper.
- Sand gently using light pressure.
- Blend the repaired area into the surrounding wall.
Run your hand lightly across the surface.
If you can feel raised edges, continue sanding carefully.
Avoid oversanding, which can create a low spot.
Step 6: Apply Another Thin Coat if Needed
Sometimes the compound shrinks slightly while drying.
If you notice:
- Small dips
- Uneven areas
- Visible patch edges
Apply another thin coat.
Thin applications usually produce smoother results than thick ones.
Step 7: Prime Before Painting
Many beginners skip primer, but this often leads to uneven paint coverage.
Primer helps:
- Seal the repair
- Improve paint adhesion
- Create a more consistent finish
Allow the primer to dry before painting.
Step 8: Paint the Repaired Area
Use paint that matches the existing wall.
For the best blend:
- Apply thin coats.
- Feather the paint into the surrounding area.
- Allow each coat to dry before adding another if needed.
In some cases, painting the entire wall may provide the most even appearance, especially if the existing paint has faded over time.
Common Drywall Repair Mistakes
Applying Too Much Compound
Thick layers take longer to dry and require more sanding.
Several thin coats usually produce better results.
Skipping Surface Cleaning
Dust prevents proper adhesion.
Always clean the repair area first.
Sanding Too Aggressively
Heavy sanding can damage the surrounding drywall.
Use gentle pressure and check your progress often.
Painting Without Primer
Primer helps reduce visible differences between the repaired area and the existing wall.
Rushing the Drying Process
Trying to speed up drying often leads to poor results.
Patience usually produces a smoother repair.
A Unique Perspective: Good Drywall Repairs Are Mostly About Patience
Many beginners assume drywall repair is difficult because professionals make it look effortless.
In reality, the biggest difference is often patience rather than advanced skill.
Professionals typically apply thin layers, allow proper drying time, sand carefully, and inspect the surface before painting.
Taking your time often produces a repair that blends naturally into the wall.
Preventing Future Drywall Damage
Simple habits can help reduce wall damage around the home.
Consider:
- Using wall anchors for heavy items.
- Installing doorstops to prevent doorknob damage.
- Avoiding overloaded shelves.
- Moving furniture carefully.
- Checking wall fasteners before hanging decorations.
Preventive maintenance usually requires less effort than repeated repairs.
Frequently Asked Questions
Can I repair drywall without professional experience?
Yes. Small holes and dents are among the most beginner-friendly DIY home repairs.
What’s the difference between spackling compound and joint compound?
Spackling compound is commonly used for small repairs and often dries more quickly. Joint compound is frequently used for larger drywall finishing projects.
Do I always need a drywall patch?
No. Tiny nail and screw holes usually only require spackling compound. Larger holes may benefit from a repair patch.
Why does my repair show through the paint?
Common causes include skipping primer, uneven sanding, or using paint that does not match the existing wall.
How long should I wait before painting?
Wait until the repair material and primer have completely dried according to the manufacturer’s instructions.
Conclusion
Repairing small holes in drywall is a practical skill that nearly every homeowner or renter can learn. With a few affordable tools, careful preparation, and patience, you can restore damaged walls without hiring a professional.
By following the PATCH SMART Method, cleaning the area, applying thin layers of compound, sanding gently, and using primer before painting, you can achieve smooth, durable, and paint-ready repairs.
The more you practice on small repairs, the more confident you will become. Many people discover that drywall repair is less about experience and more about taking each step carefully.